On this page
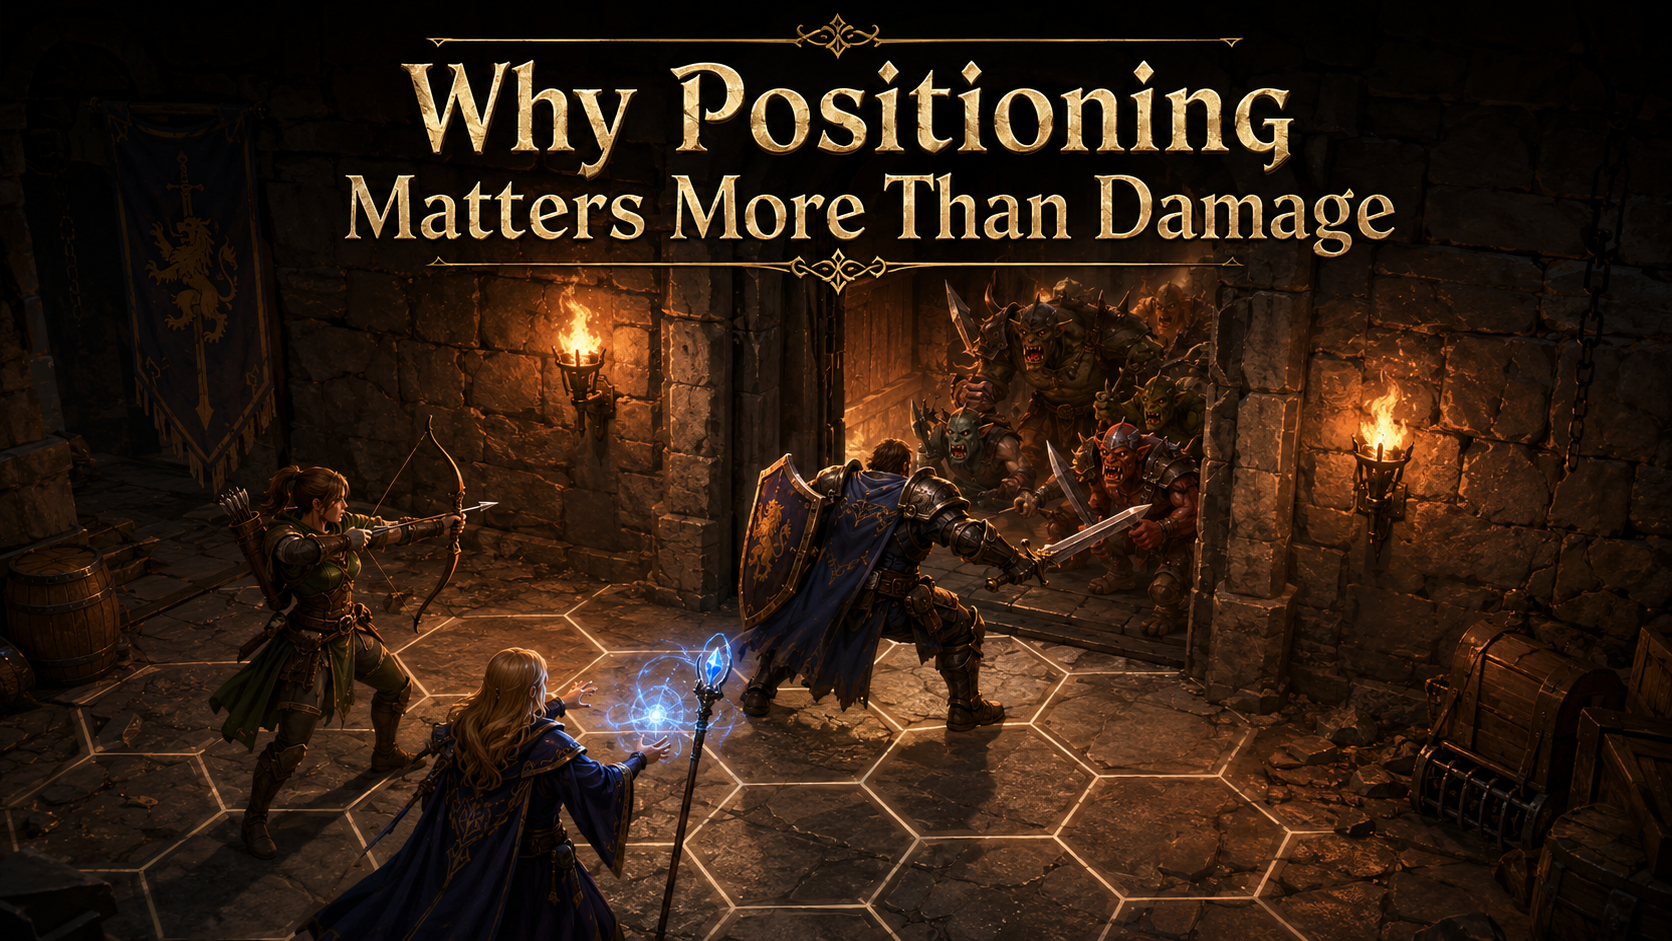
Damage feels like the most important thing in Gloomhaven.
It is easy to understand.
It feels powerful.
It removes enemies from the board.
So when new players are choosing between a big attack and a careful move, the attack often wins.
But experienced players know something that is not obvious at first:
Where you end your turn often matters more than how much damage you dealt.
A strong attack that leaves you surrounded can lose the scenario. A quiet movement turn that prevents three enemy attacks can win it.
This article explains why positioning matters so much, how it affects almost every part of the game, and how better movement choices can make your party feel stronger immediately.
Damage Is Obvious. Positioning Is Invisible.
Damage gives instant feedback.
You attack.
A monster loses hit points.
Maybe it dies.
Positioning is less obvious because its value often comes from what doesn’t happen.
Good positioning might mean:
- an enemy cannot reach you
- a ranged monster has to move instead of attack
- only one monster can target your frontliner
- your support character stays safe
- your next turn starts from a better hex
- your party avoids a forced card loss
None of that feels as dramatic as dealing 6 damage.
But preventing damage, saving actions, and controlling monster movement are often more valuable than a single strong hit.
Gloomhaven Punishes Bad Hexes
In many games, standing in the wrong place is inconvenient.
In Gloomhaven, standing in the wrong place can be catastrophic.
Bad positioning can lead to:
- multiple enemies attacking you
- ranged enemies focusing fragile characters
- allies being blocked from moving
- wasted turns trying to recover
- forced card losses
- early exhaustion
A single bad hex can create a chain reaction.
You take more damage.
You spend cards to prevent that damage.
You use later turns healing.
You lose tempo.
You arrive at the objective too late.
That is why positioning is not just a defensive concern. It affects the entire scenario.
The Best Defense Is Not Being Attacked
New players often think defense means:
- Shield
- healing
- high hit points
- tanking damage
Those tools matter, but the best defense is often simpler:
Do not be in range of the attack.
If a monster cannot reach you, it cannot hurt you. If a ranged enemy has no line of sight, it may lose value. If a melee enemy has to spend its turn moving, you have effectively prevented damage without using a heal or shield.
This is one of the biggest beginner breakthroughs.
You do not have to absorb every attack.
You can make attacks fail before they happen.
Ending Your Turn Matters More Than Starting It
When choosing a move, do not only ask:
Where can I go?
Ask:
What happens after I end there?
A good ending position should consider:
- which monsters can reach you
- whether enemies will block your allies
- whether you are helping or hurting monster focus
- whether you are near the next objective
- whether you are safe next round
The best hex is not always the one closest to the enemy.
Sometimes the best move is one step back.
Sometimes it is sideways.
Sometimes it is standing still.
The goal is not to move far. The goal is to end somewhere useful.
Positioning Controls How Many Monsters Get to Attack
One of the fastest ways to lose a scenario is to let too many enemies attack at once.
If four monsters can attack this round, your party is under heavy pressure. If only one or two can attack, the same room becomes much easier.
Good positioning reduces enemy attacks by:
- holding doorways
- using walls and obstacles
- forcing enemies through narrow spaces
- standing just outside movement range
- blocking key hexes
- avoiding open-room fights
This is why doorways and choke points are so powerful.
You are not just standing in a doorway because it looks safe. You are limiting the number of enemy turns that matter.
A “Bad” Attack From a Good Hex Can Be Better Than a “Good” Attack From a Bad Hex
Sometimes your strongest attack is not worth the position it requires.
For example:
You can move forward and make a big attack, but doing so leaves you adjacent to three monsters.
Or you can make a smaller attack from a safer position, leaving only one monster able to hit you.
The smaller attack may be the better turn.
Why?
Because the big attack comes with hidden costs:
- more incoming damage
- possible lost cards
- future healing
- worse initiative choices next round
- allies needing to rescue you
Damage is only part of the value of a turn. Position determines the cost.
Positioning Makes Initiative Stronger
Initiative and positioning are deeply connected.
Good positioning lets you choose initiative more flexibly.
If you are safe at the end of your turn, you can afford to go late next round. If you are exposed, you may be forced to go early just to survive.
That means bad positioning reduces your options.
Good positioning gives you choices:
- go early to finish a threat
- go late to let monsters move first
- stay put and attack
- move toward the objective
- rest without disaster
The better your position, the less desperate your next turn becomes.
Positioning Helps the Whole Party
Your hex does not only affect you.
It affects:
- where monsters move
- who monsters focus
- whether allies can reach enemies
- whether allies have line of sight
- whether doorways stay controlled
- whether support characters can help safely
A player who stands in the wrong place may accidentally:
- block an ally’s best attack
- pull monsters toward the backline
- prevent a teammate from escaping
- open a path to an objective
- force someone else to take damage
Good positioning is party support, even when you are not playing a support class.
Don’t Stand Adjacent Unless You Need To
This is one of the simplest rules for new players:
If you do not need to stand next to an enemy, don’t.
Standing adjacent invites:
- melee attacks
- disadvantage on your ranged attacks
- monster focus problems
- being surrounded
- bad movement options next round
Sometimes adjacency is necessary. Melee characters need to attack. Frontliners need to hold space. Some abilities require close range.
But if you are ranged, fragile, or not actively controlling the enemy, adjacency is usually a warning sign.
A single hex of distance can be the difference between taking damage and taking none.
Use Monsters’ Movement Against Them
Monsters often need specific positioning to attack. That means you can make their turns worse by standing in awkward places.
You can:
- stand just outside movement range
- force melee monsters to take the long way around obstacles
- make ranged enemies move instead of shoot
- pull enemies into a doorway
- cause enemies to clump for area attacks
- leave slow enemies behind
You do not need to outfight every monster. Sometimes you can simply make the monster’s turn inefficient.
That is positioning doing damage indirectly.
Positioning Is How You Save Cards
Cards are your real clock in Gloomhaven.
Bad positioning causes damage.
Damage causes lost cards.
Lost cards cause exhaustion.
So even if positioning does not look like card management, it absolutely is.
A smart movement turn can save:
- a heal later
- a lost card from damage prevention
- a rest at a bad time
- a burn card used defensively
- an entire round of recovery
The fewer emergency turns you need, the longer your party lasts.
Positioning Near Objectives Matters Too
Not all positioning is about combat.
Sometimes the best position is the one that gets you closer to winning.
That might mean:
- moving toward an exit
- standing near a scenario object
- preparing to open the next door
- getting into range to interact next round
- leaving an irrelevant enemy behind
New players often stay near enemies because enemies feel urgent.
But the scenario objective is more important than the nearest monster.
A good position should support the win condition, not just the current fight.
Common Positioning Mistakes
Moving Forward Just Because You Can
Extra movement is not automatically good. If moving forward exposes you to more attacks, it may be worse than staying put.
Chasing Low-Priority Enemies
Running after a nearly dead or irrelevant monster can pull you away from the party and waste multiple turns.
Standing in the Middle of a Room
Open spaces allow enemies to surround you. Corners, walls, and doorways usually give you more control.
Blocking Allies
Before ending your move, ask whether your hex prevents a teammate from reaching the fight, escaping danger, or using an important ability.
Forgetting the Next Room
If a room is almost clear, start thinking about where the next door or objective is. Do not spend three extra rounds standing in the wrong part of the map.
How to Improve Your Positioning Immediately
Before ending your turn, ask these questions:
- How many enemies can attack me here?
- Am I making life easier or harder for my allies?
- Am I closer to the scenario objective?
- Can I be surrounded next round?
- Would one hex backward be safer?
- Would one hex forward actually help?
- What will monsters probably do after I stand here?
You do not need perfect answers. Just asking these questions will make your turns better.
A Good Position Often Looks Boring
The best positioning choices are not always flashy.
A good turn might be:
- stepping back one hex
- standing in a doorway
- moving toward the next room
- staying out of range
- blocking one key hex
- letting enemies waste movement
- skipping a tempting attack
These turns can feel less exciting than a big damage number, but they often prevent the mistakes that end scenarios.
Gloomhaven rewards players who think beyond the current attack.
Final Takeaway
Damage wins fights.
Positioning wins scenarios.
If you remember one thing, remember this:
The best attack is not always the biggest attack. It is the attack you can make from a hex that still leaves you safe, useful, and closer to winning.
Once you start valuing position as much as damage, Gloomhaven becomes easier to understand.
You will take fewer unnecessary hits.
You will lose fewer cards.
You will waste fewer turns recovering.
And your party will start winning more consistently.
Next reads
Keep going with spoiler-light, practical guidance.
Stop Healing So Much
Healing feels safe in Gloomhaven, but it can quietly cost you scenarios. Learn when healing is worth it, when it wastes tempo, and why preventing damage is usually stronger.
Why You’re Running Out of Cards
Running out of cards in Gloomhaven or Jaws of the Lion? Learn why exhaustion happens, how card economy really works, and how to last longer in scenarios.
How to Win Scenarios With Tight Time Limits
Practical strategies for beating time-limited scenarios in Gloomhaven and Jaws of the Lion. Learn pacing, card management, initiative control, and when to push instead of fight.
Split-Party Scenarios: Stay Alive While Divided
How to survive split-party scenarios in Gloomhaven and Jaws of the Lion. Learn role assignment, pacing, initiative control, and regrouping tactics to avoid getting overwhelmed.
Why You’re Losing Scenarios Even When Playing ‘Correctly’
Explore common hidden reasons players lose Gloomhaven and Jaws of the Lion scenarios despite thinking they are playing correctly. Learn tactical, strategic, and game-mechanic blind spots that often determine losses.