On this page
One of the biggest tactical questions new Gloomhaven players grapple with is:
Should we focus all our attacks on one enemy at a time, or spread out our attacks across many enemies?
In tactical scenarios, this choice affects:
- how much damage you take
- how long a fight drags on
- how much card burn your party suffers
- whether objectives can be completed in time
This guide walks through when to focus fire, when to spread damage, and how to make the call on the fly.
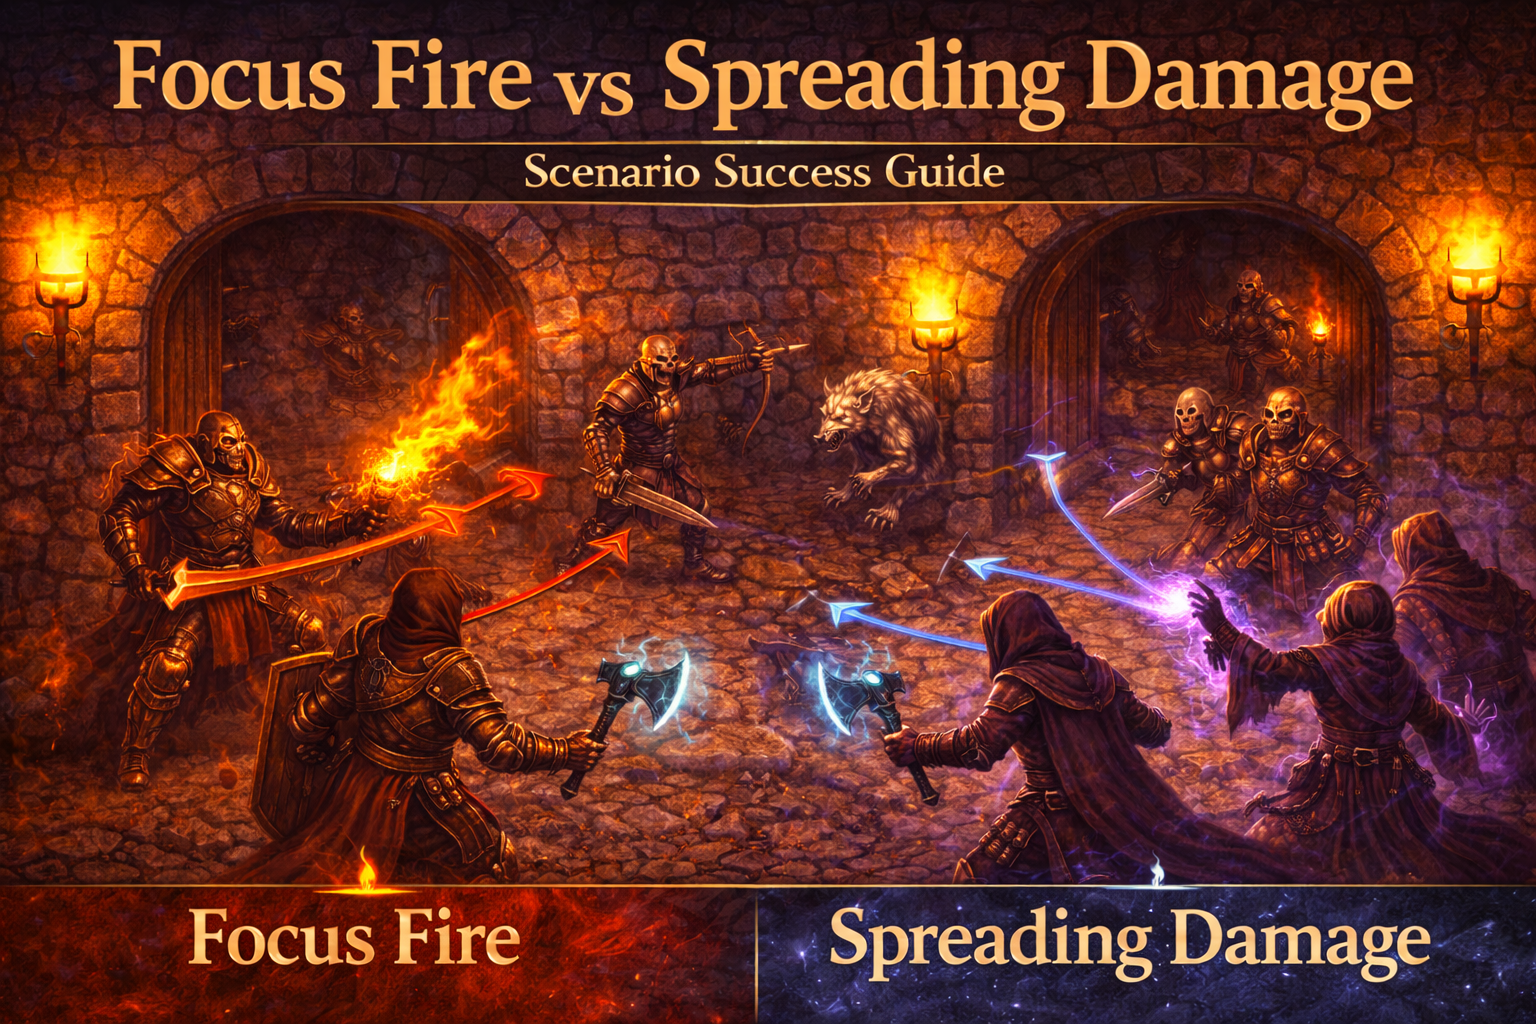
The Case for Focus Fire
Focus fire means concentrating attacks on one enemy until it dies, then moving on to the next.
This approach is commonly recommended in Gloomhaven because:
You Reduce the Number of Attacking Enemies
By killing foes one at a time, you shrink the pressure on your party. Fewer enemies acting means fewer attacks going off each round — and damage is the biggest limiter in most scenarios. Even if other enemies have lost health, they are still a threat until they are gone.
Lowered Complexity & Predictability
When there are fewer figures on the board, planning becomes easier:
- Monsters have fewer movement options
- You can funnel enemies more effectively
- You reduce initiative chaos
This is especially valuable in multi-room fights where hallway or doorway control matters.
Easier Card Management
Fewer still-alive enemies means fewer incoming attacks, so fewer opportunities to take damage and lose cards. Conserving cards is frequently the difference between success and exhaustion in later rooms.
Examples of When to Focus Fire
Best times to focus fire:
- When an enemy has low remaining health and can be finished quickly
- When a strong enemy threatens multiple party members
- When you lack control abilities but can kill fast
- Early in a scenario where overkill now prevents later damage
In practical terms, this means picking priority targets — usually high-damage or low-HP threats — and knocking them out first.
The Case for Spreading Damage
Spreading damage means attacking multiple targets instead of committing all attacks to one.
This has tactical value in some scenarios because:
It Prevents Many Enemies from Acting at Full Strength
If you injure several enemies, but don’t kill them, you can reduce the total damage output of the group more than by killing one. A wounded enemy sometimes deals less effective damage than several full-strength enemies acting together.
This is typical in other tactical RPGs too: diluting the group’s total action value can be more effective than focusing fire in certain contexts.
Spreading Damage Helps When You Can’t Kill Quickly
If your party lacks enough sustained damage to kill a foe this turn, it may be better to:
- injure multiple enemies
- reduce initiative efficiency
- diminish future damage
This is especially true when:
- enemies have high HP and don’t die quickly
- enemies are clustered but will threaten different party members
- your party lacks high single-target damage this turn
Scenarios Where Spreading Damage Shines
Good situations for spreading damage:
- Against large hordes of weak enemies
- When enemies have strong reactive abilities (e.g., retaliate)
- When you’re trying to set up control effects (e.g., poison, stun, immobilize)
- When team AoE abilities hit multiple enemies
Which Approach Is Better?
There is no universal answer — both focus fire and spreading damage are valid.
Instead, ask yourself these questions each round:
-
Can we kill at least one enemy this round?
- If yes, focus fire on the easiest or most dangerous one.
- If no, consider spreading damage.
-
Which enemies will definitely act before we go again?
- A dangerous initiative enemy should be a focus target.
-
Does spreading damage reduce overall incoming damage?
- If partial damage reduces total threat next turn, spreading can be superior.
-
Do we have control or status effects that reward spreading?
- Effects like poison, immobilize, or stun are more valuable against multiple wounded targets.
If you can answer these questions clearly, you’ll make better tactical choices.
Examples in Typical Gloomhaven Scenarios
Example A: Two High-Threat Enemies
Your party can kill one, but not two, this round.
- Focus fire the most threatening one (highest damage or strongest ability)
- Spread damage is not helpful here because one enemy will act full force next turn
Outcome: One enemy dead → fewer attacks next round.
Example B: Horde of Weak Foes
You have many weak enemies clustered with low HP.
- Spread damage to reduce how many can act in meaningful ways
- Consider AoE or attacks that hit multiple enemies
Outcome: Weak enemies stay alive but hurt less, reducing total damage output.
Example C: Control and Debuff Setup
You have a stun or immobilize available next round.
- Spread damage to injure several targets within range
- Use control to neutralize a group
This increases value of debuffs more than focusing fire in a single turn.
Party Composition Changes the Equation
What your party can do matters:
- High single-target burst classes (e.g., Hatchet, Scoundrel) accelerate focus fire
- AoE or supportive classes (e.g., Demolitionist, Soothsinger) enable spreading damage
- Control classes amplify the value of spreading damage because injured foes are easier to hold in place
Always pair your approach with what your party actually does well.
Practical Tactical Tips
Don’t Sweat Overkill
Sometimes it’s worth “wasting” damage to secure a kill because the benefit (one fewer enemy acting) is greater than saving a few hit points.
Think About Initiative
If you know a dangerous enemy will act before certain party members, focus them down even if other enemies are wounded.
Use Positioning to Force Decisions
Clumping enemies can make AoE more valuable and spreading damage more effective.
Consider Scenario Objectives
In scenarios with goals other than killing everything, spreading damage to slow enemies can be more valuable than focus fire.
Summary
Here’s a quick comparison:
Focus Fire
- Best when you can kill enemies quickly
- Reduces total threats
- Works well against fewer high-threat enemies
Spreading Damage
- Best against many weak enemies
- Reduces total output rather than eliminating threats
- Works well with debuffs/AoE
Both approaches are situational — the key is choosing the right one based on the game state and your party’s strengths.
Next reads
Keep going with spoiler-light, practical guidance.
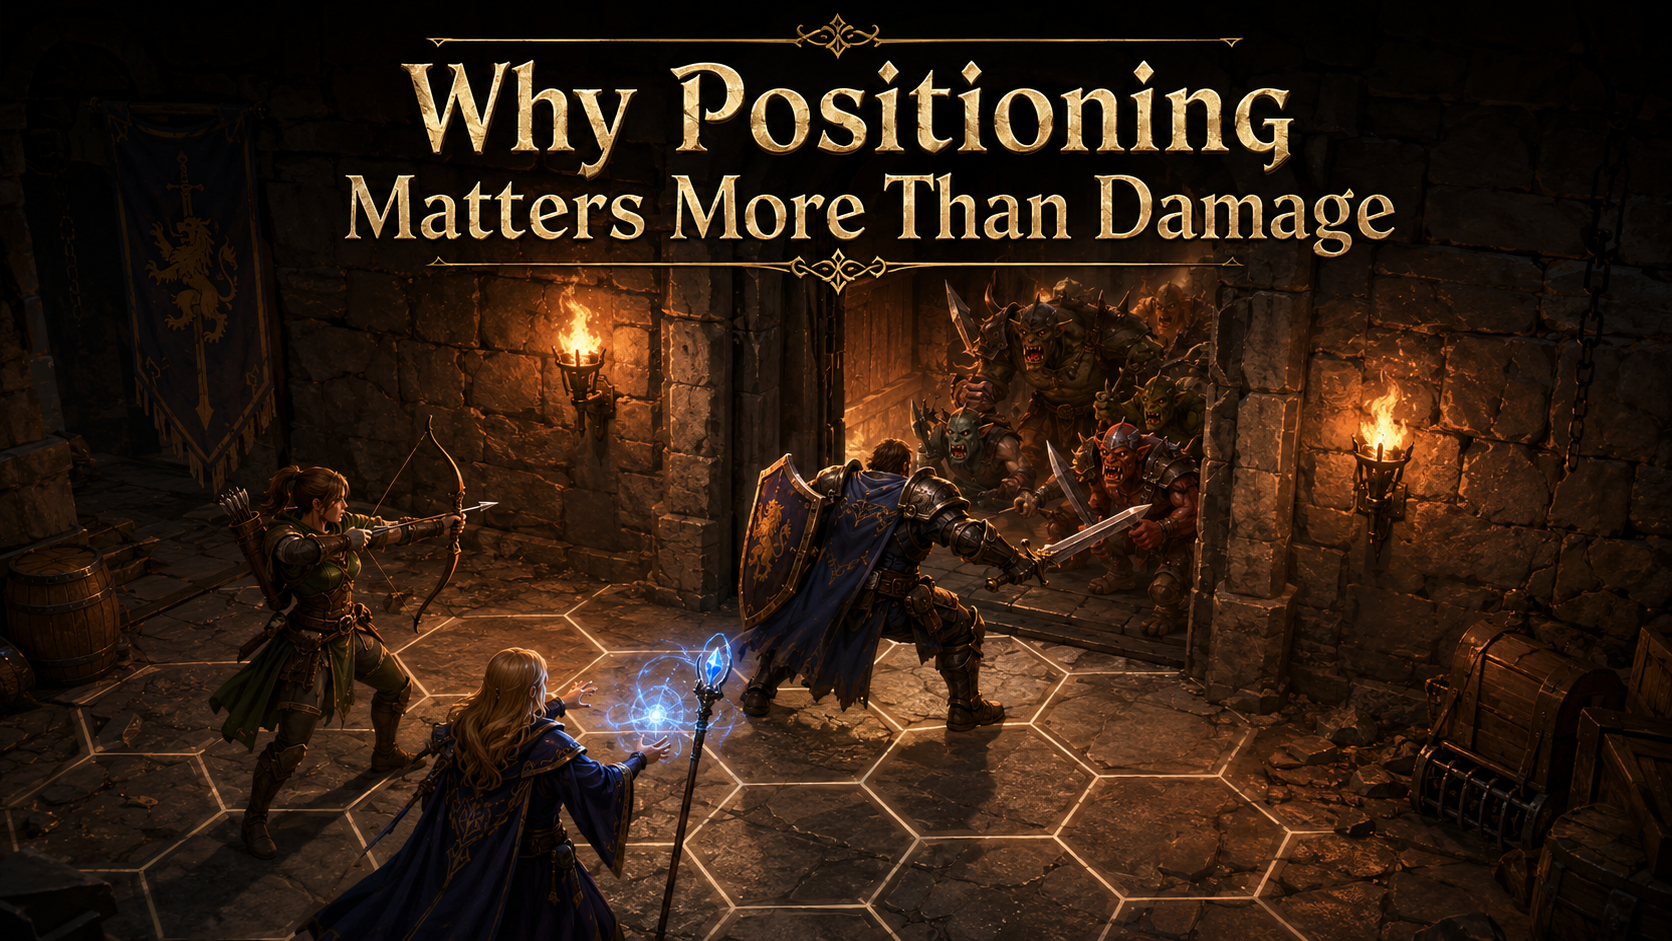
Why Positioning Matters More Than Damage
Learn why positioning is often more important than raw damage in Gloomhaven and Jaws of the Lion. A beginner-friendly guide to safer turns, better movement, and smarter scenario play.
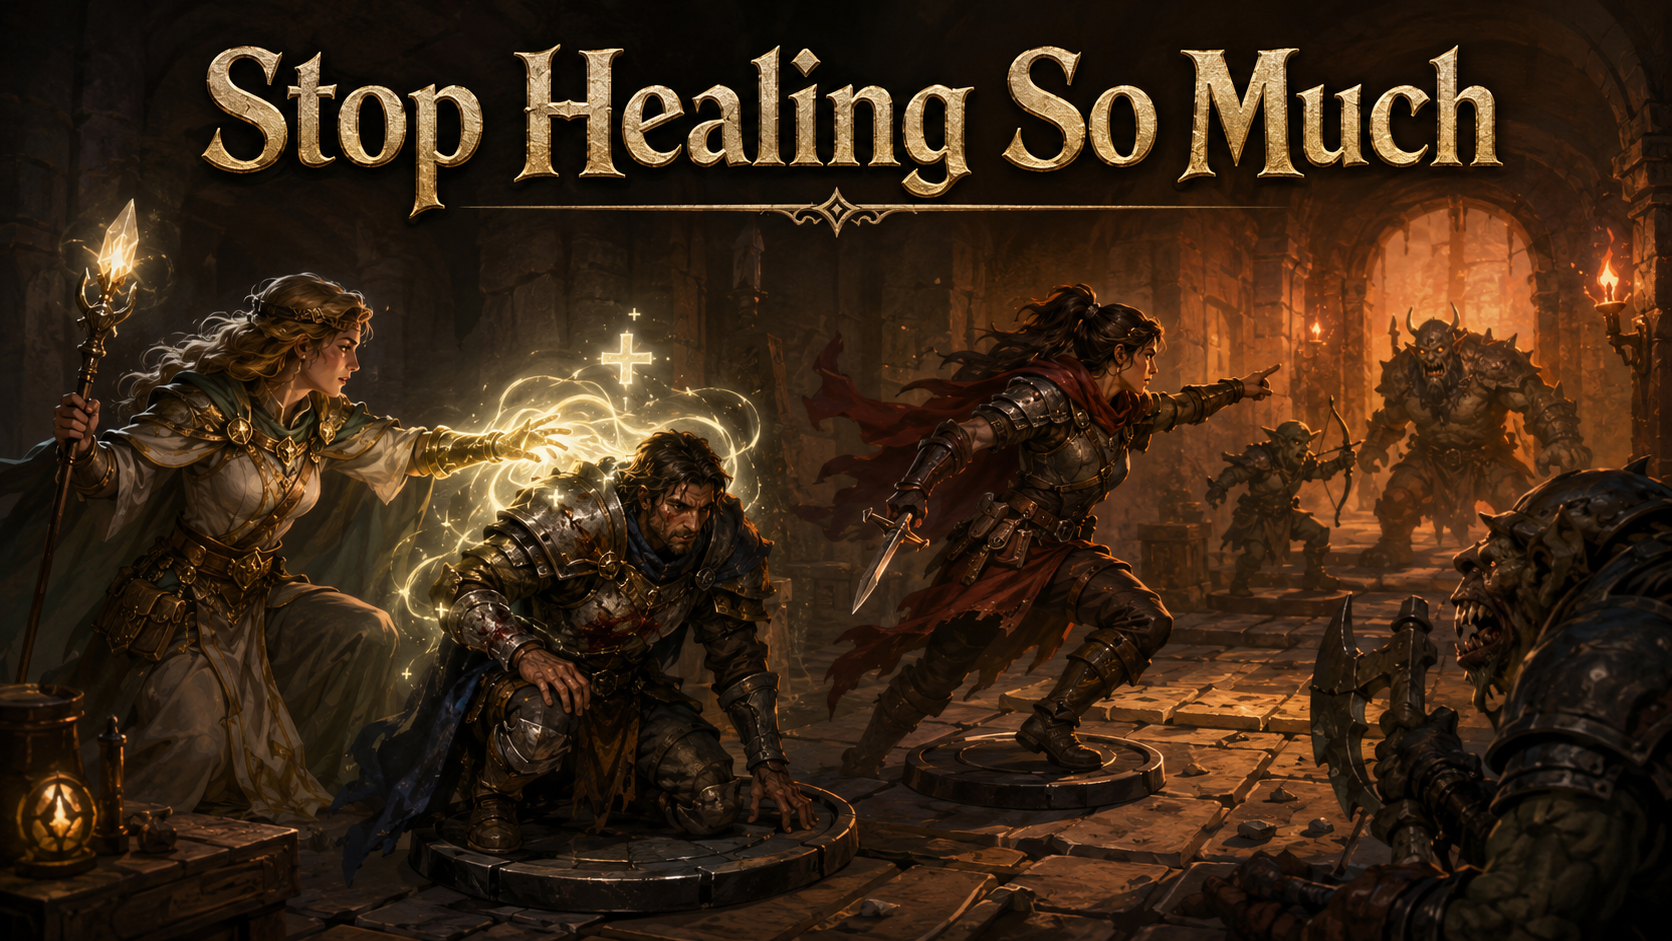
Stop Healing So Much
Healing feels safe in Gloomhaven, but it can quietly cost you scenarios. Learn when healing is worth it, when it wastes tempo, and why preventing damage is usually stronger.
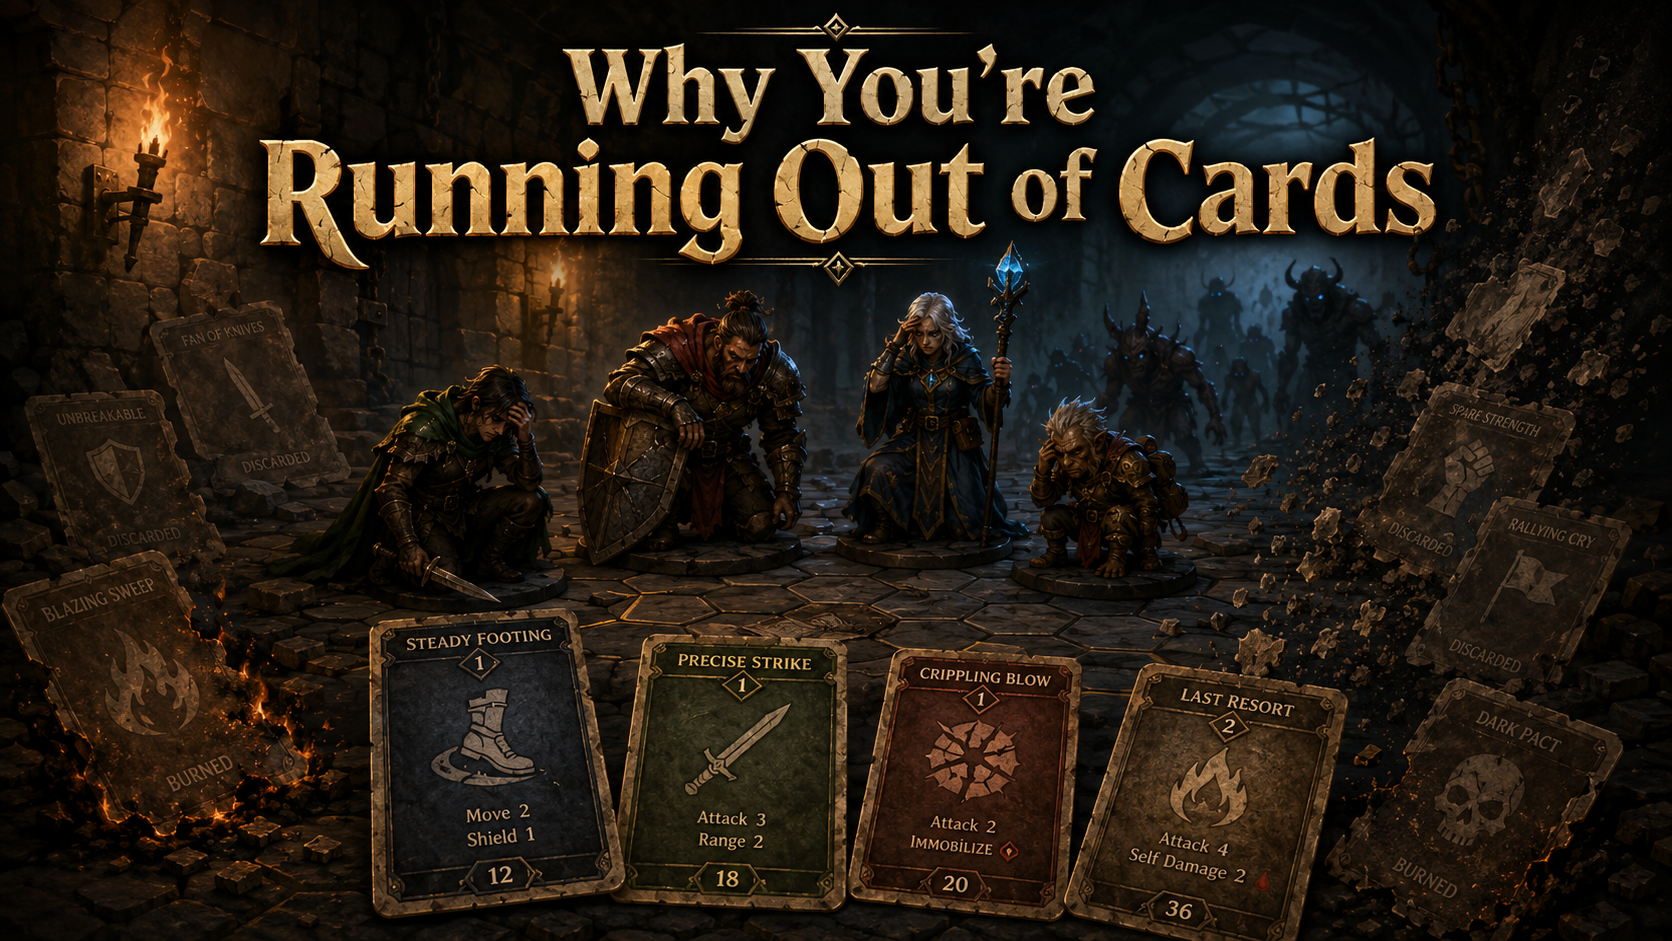
Why You’re Running Out of Cards
Running out of cards in Gloomhaven or Jaws of the Lion? Learn why exhaustion happens, how card economy really works, and how to last longer in scenarios.
How to Win Scenarios With Tight Time Limits
Practical strategies for beating time-limited scenarios in Gloomhaven and Jaws of the Lion. Learn pacing, card management, initiative control, and when to push instead of fight.
Split-Party Scenarios: Stay Alive While Divided
How to survive split-party scenarios in Gloomhaven and Jaws of the Lion. Learn role assignment, pacing, initiative control, and regrouping tactics to avoid getting overwhelmed.
Why You’re Losing Scenarios Even When Playing ‘Correctly’
Explore common hidden reasons players lose Gloomhaven and Jaws of the Lion scenarios despite thinking they are playing correctly. Learn tactical, strategic, and game-mechanic blind spots that often determine losses.